28 Apr Brush Cleaning 101
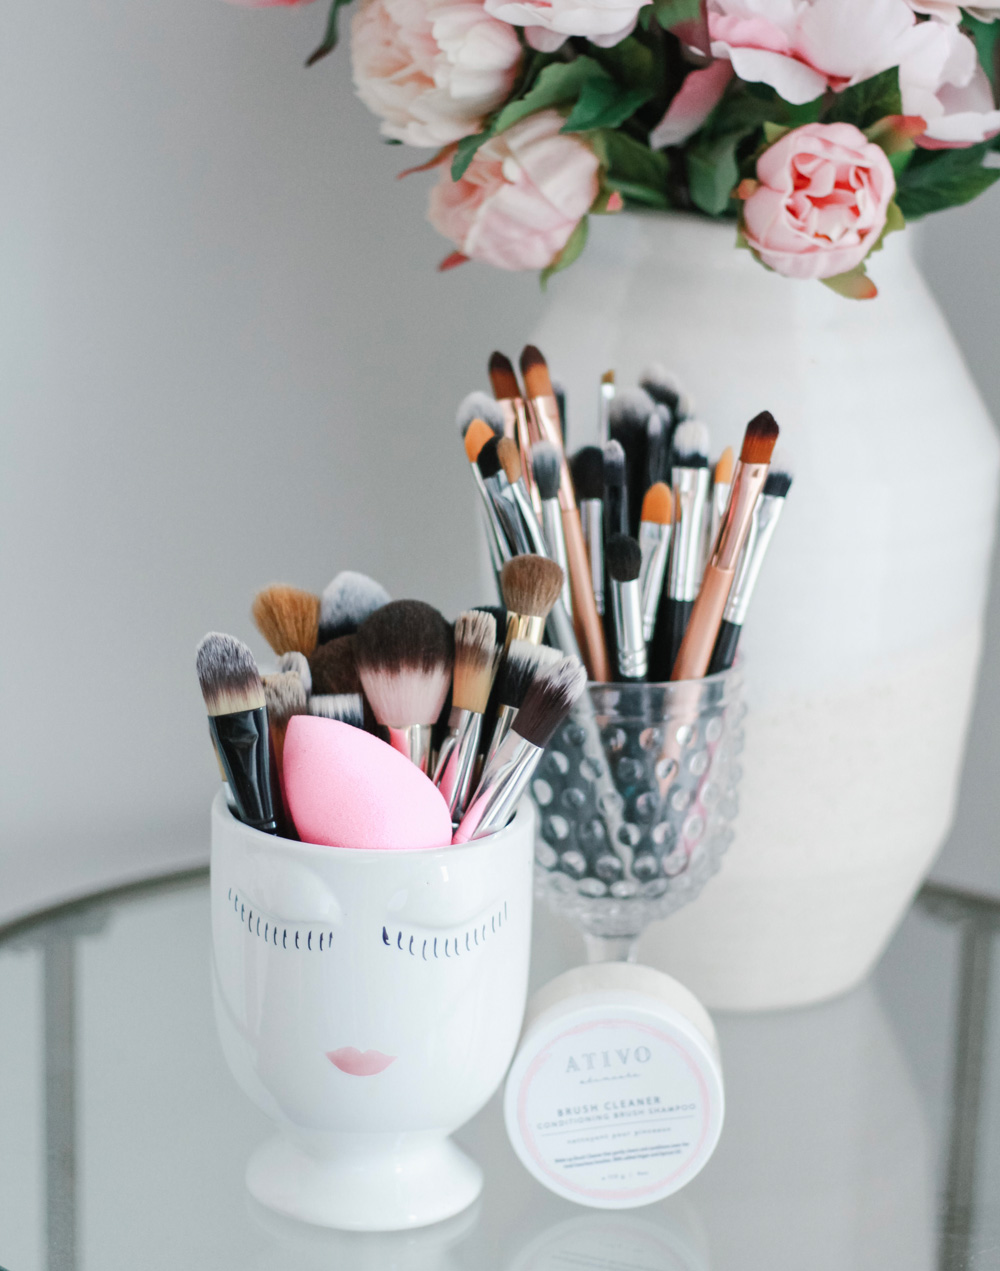
Cleaning your makeup brushes is soooooo important. Brushes collect bacteria, dead skin sells and old makeup! (Ew) Who wants that rubbed all over their face? Not me!
Cleaning brushes as a makeup artist
The bane of my existence and easily the worst part of my job lol. When I first started makeup, for big wedding parties I never had enough brushes, so I used to spot clean them with alcohol/brush cleaner between clients. I’ve now accumulated enough that I can use them once, throw them in the “dirty” pile, grab a clean one and carry on. Every couple weeks when I’ve run out of clean ones I’ll have a little brush cleaning binge where I drink wine, crank the tunes and scrub my little babies down. I can’t stress enough how important it is to be sanitary with all your clients as you never want to cross contaminate!
Cleaning brushes as a makeup wearer
I have my own personal set of brushes that I keep in my personal makeup kit. Unlike my kit brushes, I do not wash these after every application. Let’s be honest, that would be very time consuming and also… it’s sort of unnecessary. When using brushes on YOUR face only, it’s our own germs on the brush. I mean…I’m no bacterial scientist, but I’m pretty sure I can handle touching my own germs. (Much like we don’t wash our bedsheets every night…. you guys don’t wash your bedsheets every night do you?? Wait… I’m I doing life wrong??? lol) For my personal makeup brushes … I usually shampoo once a week or once every two weeks.
Washing brushes used to be such a gruelling task, taking forever and ending with soggy wrinkly hands. Now there are products to make it SO simple and washing your own brushes can actually almost be sort of fun… In a weirdly satisfying way.
What you’ll need
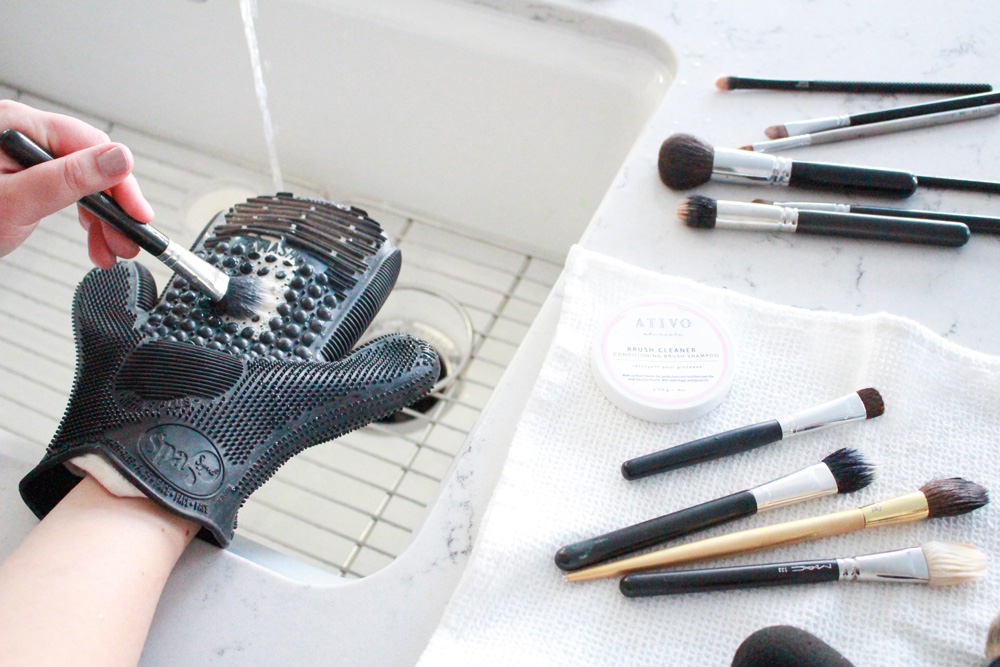
1. Brush Cleaner – My favorite is “Ativo Skin Care”
If you don’t have a proper brush cleaner – dish soap will do, but an actual brush cleaner makes a huge difference!
2. Three small hand towels
3. Warm water
4. A brush cleaning glove – or a rubber kitchen glove (the kind with grooves on it)
Prep
If you are a makeup nut and have lots of brushes – Group your brushes together in type and size. Powder brushes for blush/face powder, wet brushes like concealer/foundation/lip brushes, eye shadow brushes, and eyeliner/eyebrow brushes.
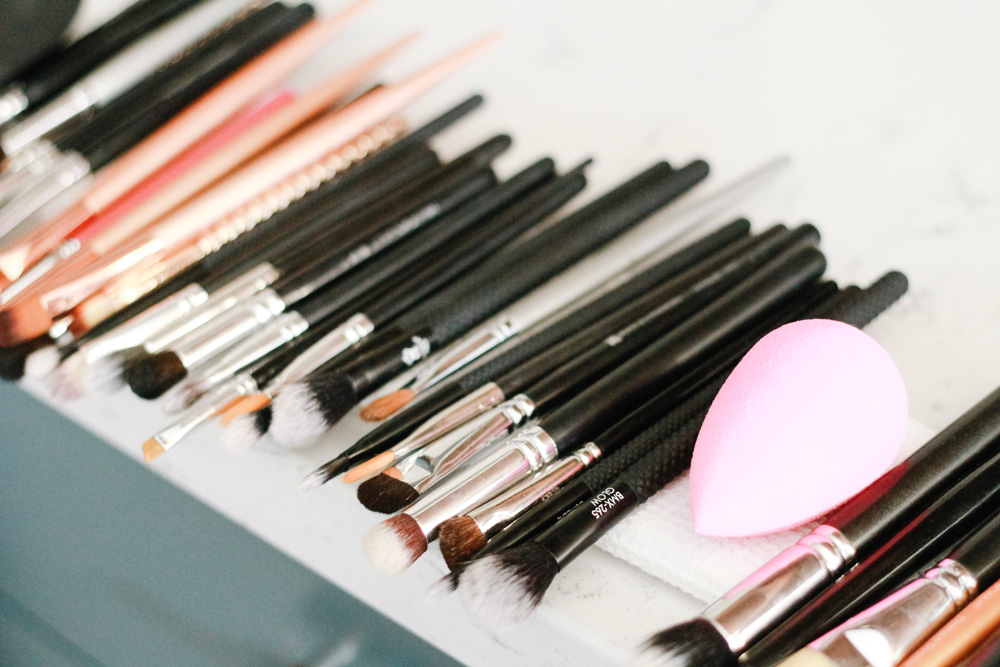
Take one towel and fold it lengthwise a few times until it’s about 3 inches wide – lay this on your counter top. This is the towel you will be laying your brushes on to dry. Take your other towel and lay it flat beside the sink. Keep the third towel close by.
Wet and Lather

Run the water, warm, NOT hot. Hot will eventually take its toll on your brushes and you want to extend the life of those babies as long as you can!! Think of makeup brushes like your own hair (Some of you probably do, tsk tsk…. but you shouldn’t be washing your hair in HOT water).
Put the kitchen glove on your non dominant hand then pick up one group of brushes (up to 4 at a time). Wet the brush hairs, keeping the brush hairs facing downwards.
Swirl the wet bristles into the brush cleaner once or twice and gently rub in a circular motion onto the glove. (If using dish soap, it’s easier if you put soap in a pump. Pump a SMALL bit of soap onto the glove) Lather those puppies up ! As you lather, the soap foam should go the color of whatever makeup is on the brush. After you’ve got a good lather, quickly run under the glove and the brush under water and lather again. Keep doing this until the lather is white!! SOOO SATISFYING!!!!
Rinse
Once the foam comes out white you know its clean, now we rinse. If you don’t get all the soap out it leaves a film on your brushes, so rinse well! Once there’s no more soap residue, use the gloved hand to gently Squeeze the brush hairs and get out excess water. Lay them on the towel that you’ve placed beside the sink. Repeat with all your brushes!
Dry

When all your brushes are squeaky clean, use that 3rd towel and gently squeeze each brush (don’t pull). For flat shaped brushes – use the towel in your hand to shape the brush back to it’s original shape. For fluffy brushes – squeeze the excess water out with the towel and then use that same circular motion on the towel to fluff it back up! Lay your brushes flat on the folded towel with the entire brush head hanging over the edge. This will allow air to flow through and dry the bristles faster without compromising the shape! You can also wipe down the handle of your brush to remove any fingerprints and makeup buildup.
You’re all done!! Let them dry overnight and enjoy your clean fluffy brushes the next morning!!
Tips
Don’t get the “ferrule” (the metal part) of the brush wet. If you get water between the brush handle and the ferrule, over time this can cause rusting and the glue may eventually come loose. Nobody want’s to spend $40 on a brush for it to fall apart in a year. I’ve had some of my brushes for 10+ years and they’re still going strong !
If your concealer/lip/eyeliner brushes are really packed with oily or waterproof makeup, take
some olive oil on a paper towel and gentle massage the brushes in it. The oil will break down the makeup. After you do this – shampoo as normal.
Check out my favourite brushes in my shop favourites section.

Christina Harsch
Posted at 06:51h, 13 JuneI am so happy to hear I am not the only one with brushes over 10 years old!!! I thought maybe that would be seen as a complete no-no.